
A compound microscope is a microscope with high magnification. It is called a compound microscope because it makes use of a multiple lens system. Typically, compound microscopes provide a magnification between 40X to 1000X. So, specimens like yeast cells that are not visible to the naked eye can be observed in great detail with a compound microscope.
In addition to this, the compound microscope is small, easy to use, and has its illuminator (light source). The multiple lens system is made up of the objective and the eyepiece lenses which would be explained in further detail in this article. The combination of the lenses gives a higher magnification in comparison to ordinary magnifying lenses or the best stereo microscope.
There are various types of compound microscopes. They include the biological microscope, phase contrast microscope, polarizing microscope, metallurgical microscope, fluorescence microscopes, and other types. The compound microscope parts are similar regardless. These parts would be examined below.
Structurally, a compound microscope is divided into three parts: the head, the arm, and the base.
Head: this is the uppermost area of the compound microscope. The head can be synonymously referred to as the body. The optical components of the microscope are found in this upper region.
Arm: the strong and curved portion used to lift or carry the equipment. It serves as a link between the head and the base.
Base: the base serves as a support for the entire microscope. The microscope’s illuminator is usually found here. It is also referred to as the foot.
The compound microscope parts can also be classified into optical and mechanical components.
The Optical Components of a Compound Microscope
The optical components of a compound microscope consist of the eyepiece and the objective lenses as well as the mirror.
Eyepiece/ocular lens
This piece is located at the top of the microscope. It is the nearest to the observer’s eye and the specimen is being observed through it. With the aid of an eyepiece lens, one can easily observe very small objects clearly in detail. It has some labels like 5X, 15X, and so on written on it. These markings indicate the magnification power of the ocular.
Although the standard magnification power of a microscope is 10X, some have varying magnification power which usually ranges from 5X to 30X. A compound microscope can be monocular, binocular, or even trinocular. A trinocular compound microscope allows two observers to view the same specimen simultaneously.
Objective lenses
This is one of the most important parts of a compound microscope. They are the optical lenses closest to the observed specimen. On most microscopes, they are usually three or, at most, five in number. Objective lenses could be positioned on the microscope in such a way that they may face the front or the rear. They are responsible for the primary image formation, its quality, the total magnification, and the resolution of the image. The objective lenses of a compound microscope can be further subdivided into the following categories based on their magnification power.
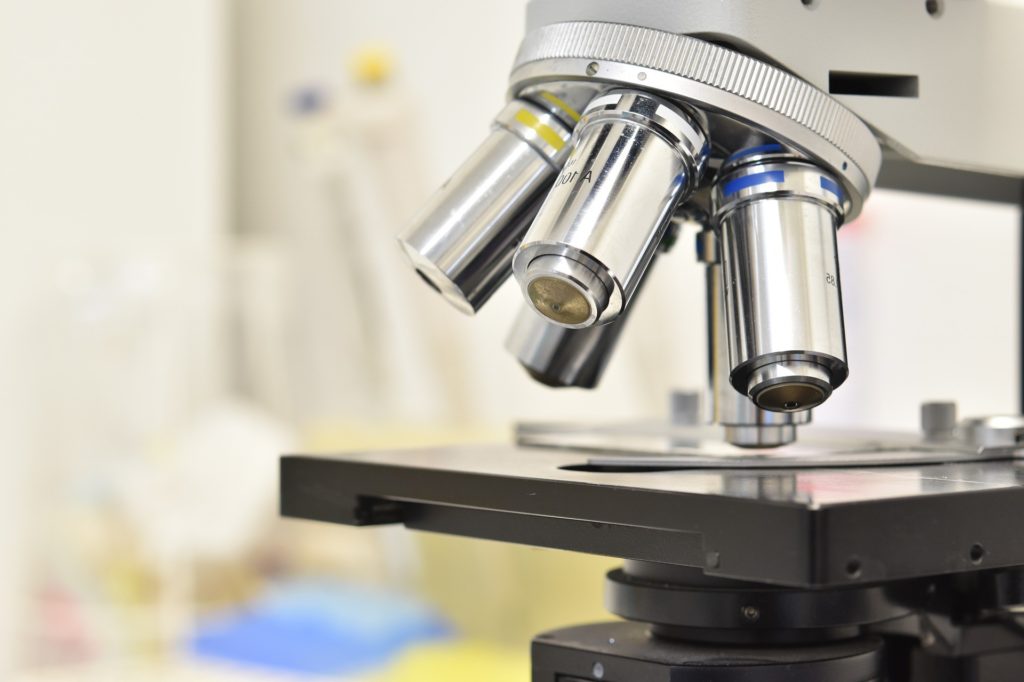
- Scanning objective lens: this has a Magnifying power of 4X, the lowest of all the objective lenses found in a compound microscope. It gives a wide view (a scan) of the slide.
- Low magnification objective lens: this has a magnification power of 10X. It also comes in handy for obtaining a general view.
- High magnification objective lens: this has a magnification power of 40X. It is also referred to as the high dry lens. It is useful for finer details observation.
- Oil immersion magnification objective lens: this lens possesses a magnification power of 100x, the most powerful one. The objective lens is typically used in combination with immersion oil to achieve a high resolving power. There is a difference between the refractive index of air and the slide (glass). So, immersion oil is used to make up for the difference. Clear images cannot be gotten with the 100x lens without immersion oil.
Meanwhile, it is important to note that the more the magnification power of an objective lens, the longer it is. Hence, the four lens types considered above do not have the same length. The scanning objective lens is the shortest and the oil immersion lens is the longest in that order. Normally, the 40X and 100X come spring-loaded so that they can retract when they make contact with the slide.
Mirror
The mirror of a compound microscope is made up of both a plain mirror and a concave mirror on each side. The mirror is connected to the lower side of the microscope’s arm. The purpose of the mirror is to reflect external light rays into the microscopic field. The Plano concave mirror gives a magnified and sharp image.
The Mechanical Components of a Compound Microscope
Besides the optical component, compound microscopes also have mechanical components. They are:
- Eyepiece tube:this part of the microscope is also commonly referred to as the eye tube or the observation tube. It keeps the ocular lens in place.
- Diopter adjustment ring: this part is only found in microscopes with binocular heads where the observer views the specimen with both eyes. So, there is bound to be some difference in the way the individual eye sees the specimen. This difference is corrected by the diopter adjustment ring which is located under the eyepiece lens.
- Interpupillary adjustment: with this adjustment, observers can alter the distance between the ocular lenses to match the distance difference between the eyes.
- Nosepiece:it is also referred to as the revolving turret. The objective lenses are connected to the nose piece. This component is a round rotatable metal part that can be moved. This changes the type of objective lens used based on the magnification power. The nosepiece is fixed to the lower region of the body tube.
- Focus knobs:the compound microscope possesses both fine and coarse focus knobs. They are mostly coaxial although, they may be located separately close to one another in some microscopes. The larger knob is called the coarse adjustment knob while the other is called the fine adjustment knob. The former is designed to adjust the height of the body tube to properly examine the object under focus. The other knob helps to get a sharp and clear focus of the specimen to be observed.
- Stage:the rectangular platform on which the specimen to be observed is placed. The stage is attached to the lower portion of the microscope’s arm. The movement of the specimen is controlled with two knobs known as the stage controls. The stage that comes with these controls is referred to as mechanical. One of the knobs moves the specimen to the right or left, while the other moves it to the front or back. They may be located on top of each other or separately above or below the stage.
- Rack stop:this is a component of the microscope used to restrict the maximum height the stage can attain. It helps to prevent the objective lens from hitting the specimen.
- Stage clips:the compound microscope has two of these. The specimen is being held in place with the stage clips.
- Pillar:the vertical projection from the base that carries the stage.
- Inclination Joint: this is the point of connection between the arm and the pillar of the compound microscope.
- Aperture:the hole located in the center of the stage that allows light passage from the base to the specimen.
- Illuminator:the bulb/light source for the compound microscope located at the base. The illuminator is a low voltage halogen or LED bulb in most compound light microscopes.
- Condenser:this microscope part receives light from the illuminator and focuses it on the specimen. This part can be found with an iris diaphragm under the stage.
- Abbey Condenser:this special condenser was made for high-power microscopes. The condenser comes in handy when a sharp image with a magnification higher than 400x needs to be attained.
- Diaphragm:This component is used to adjust the light intensity that reaches the specimen. The diaphragm is located beneath the stage. There are two types of diaphragms: Disc and Iris diaphragms.
- Condenser lens adjustment knob:the movement of the condenser for the suitable light focus is controlled with this knob. More light is condensed on the slide as the condenser is moved upwards. This knob is not present in all the compound microscopes. If your microscope contains the condenser adjustment knob, try to avoid it as much as possible. Moving the knob could tamper with the already set focus position. The condenser adjustment knob is also attached to the microscope below the stage.
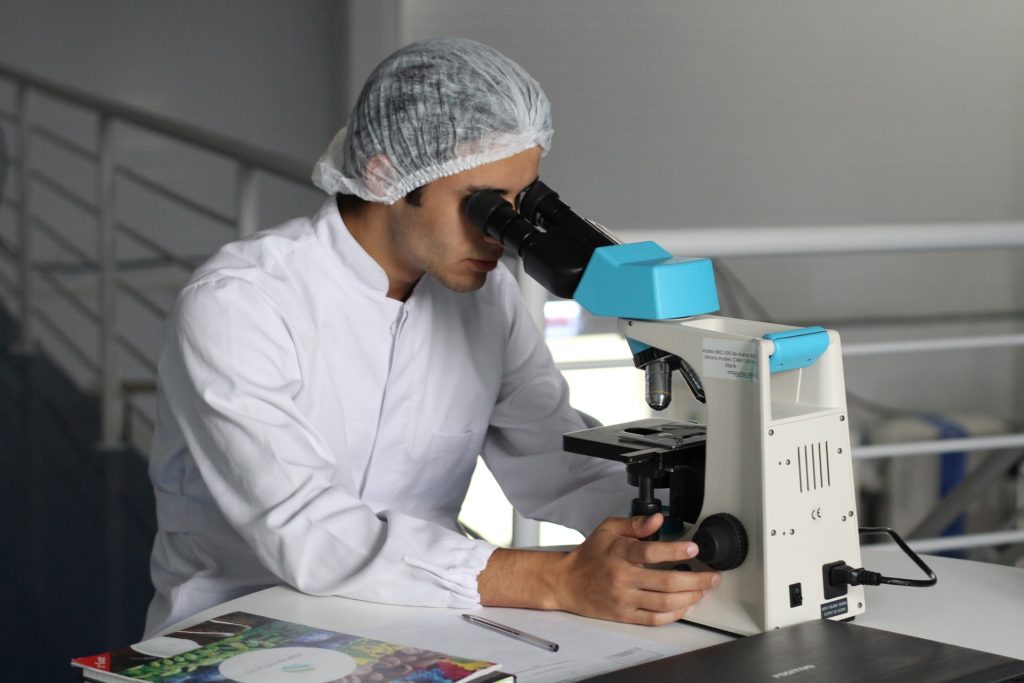
How the compound microscope parts function
A specimen would have been prepared and placed inside a slide. The slide is then mounted on the stage and held in place with the stage clips. When the microscope is turned on, the illuminator comes on and the brightness can be adjusted. Light rays travel from the illuminator through the aperture and reach the slide.
The objective lens above the slide picks a magnified image as the light further travels to the eyepiece through the head. The ocular lens magnifies the image again. The image that has been magnified twice by the objective and ocular lenses is what the observer sees through the eyepiece.
The process is not as straightforward as explained. There would be a need for some adjustments here and there to get a clear image. This is where the adjustment knobs described above are important. They are used to control and adjust the compound microscope settings. Some of the necessary adjustments that can be made to the compound microscope parts include:
- Readjustment of the mirror so that the needed amount of light would pass through into the microscope.
- Readjustment of the nose piece to rightly align the low power objective lens with the slide on the stage for the first observation.
- Readjustment of the coarse adjustment knob so that slide is in focus.
- Readjustment of the fine adjustment knob so that a clear image of the specimen in focus is achieved.
Subsequently, the magnification power of the objective lens can be increased. And the fine adjustment knobs are adjusted correspondingly for a sharp image.
Precautions and maintenance of the compound microscope part
- Observe the location of the key parts, especially the adjustment knobs. This is important so that you can fix an image without turning the wrong knob. And you don’t grope around aimlessly while observing a specimen. Don’t assume, the locations may slightly differ on different microscopes.
- Avoid touching the lenses with the fingers. The human body secretes a type of oil that can stain the glass. This can eventually corrode it causing permanent damage when left for extended periods.
- Clean the lenses with a piece of lens paper and the appropriate lens cleaning liquid before use. Avoid the use of abrasives or sharp materials on the lenses.
- Carry the microscope with its arm only and support at the base with the other hand. Any attempt to carry it with its other parts or dragging can cause damage to some of its fragile parts. With improper handling, a component may be damaged. The whole microscope may even fall and cease working. In fact, it is recommended to use a suitable bag or box when moving it through a significant distance
- Always take extra care to prevent a collision between the objective lens and the slide.
- Make use of only the fine adjustment knob when a high magnification objective lens is engaged. This is to avoid the lens striking the slide.
- Make no attempt to dismantle the compound microscope.
- Use the concave side of the mirror under dim light conditions.
- In case the illuminator needs replacement, follow the instructions provided in the manual for the correct procedures to follow.
- Do not touch the bulb with bare fingers. It can easily get contaminated thereby reducing the lifespan of the bulb.
- Keep the microscope covered when not in use.
- Clean immediately after the usage of immersion oil.
- Always keep in a cool and dry area.
- Annually, clean the sliding surfaces with a clean cloth and grease lightly.
- It is recommended to have your compound microscope serviced by a professional once in 3 years or after 200 hours of use.